Master Materials
Every object in your tiny house design has pre-applied material categories. For example, an Advanced Cabinet has 4 material categories: Cabinetry Carcass, Cabinetry Fronts, Countertops and Hardware.
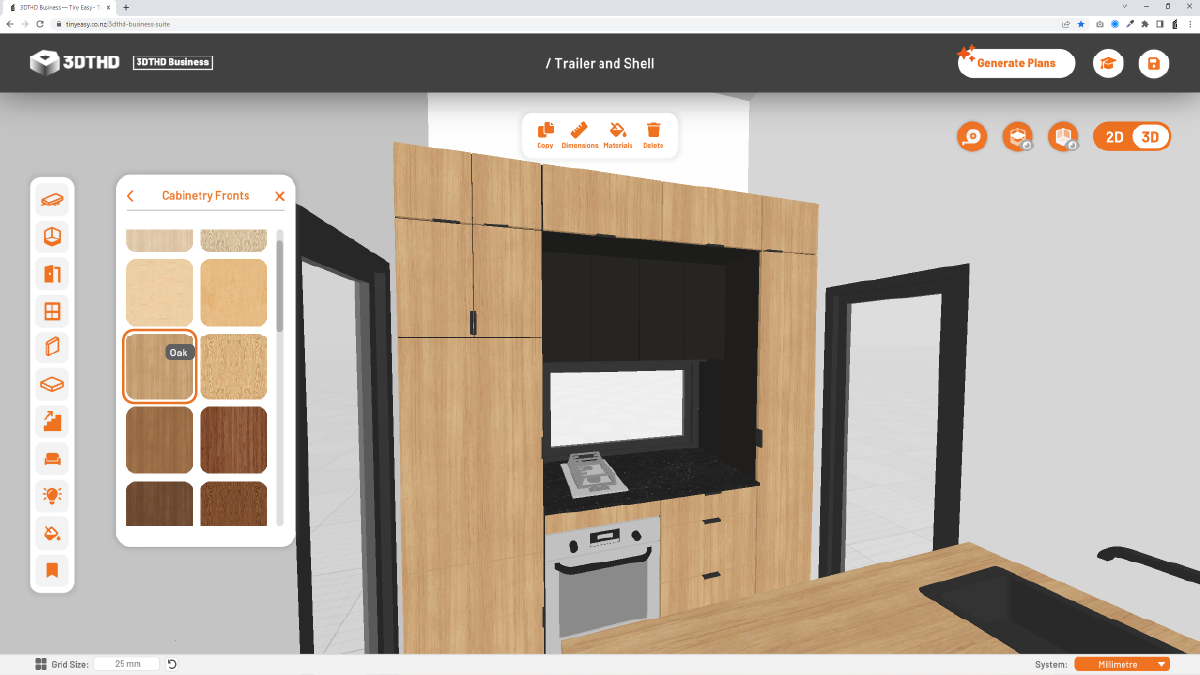
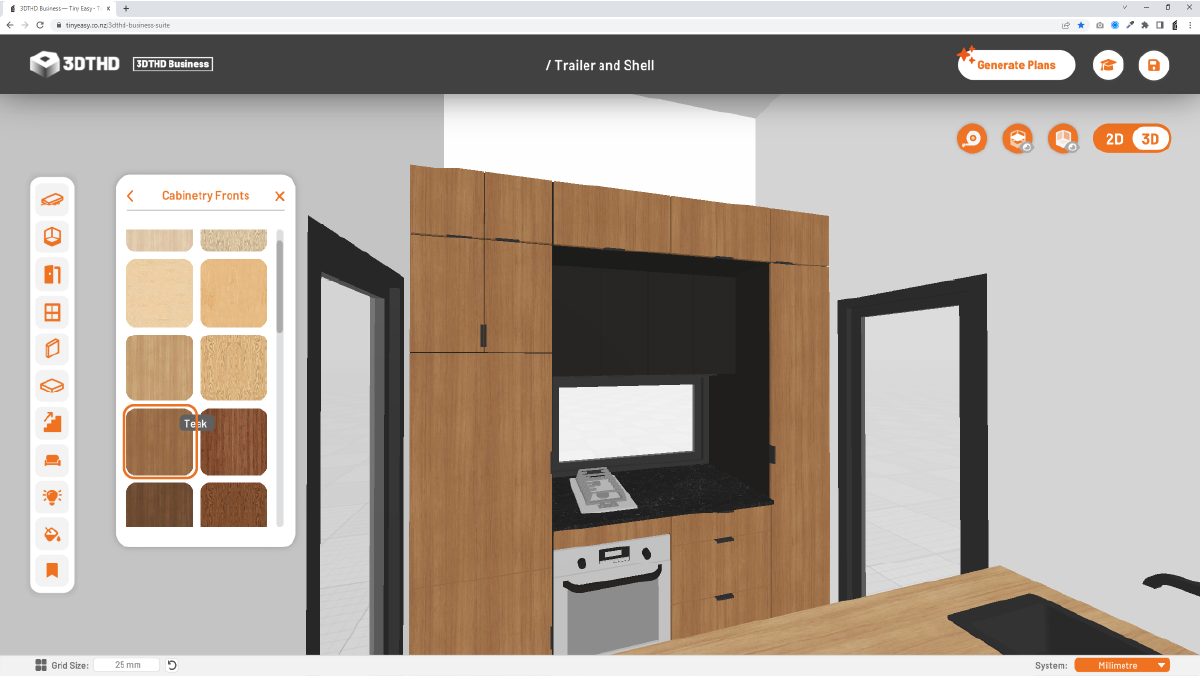
Master Materials control the look and feel of all material categories. E.g. If you change the Cabinetry Fronts Master Material, all objects with a “Cabinetry Fronts” material will automatically have the new material applied.
You can overwrite individual object materials by using Custom Materials. More on this later.
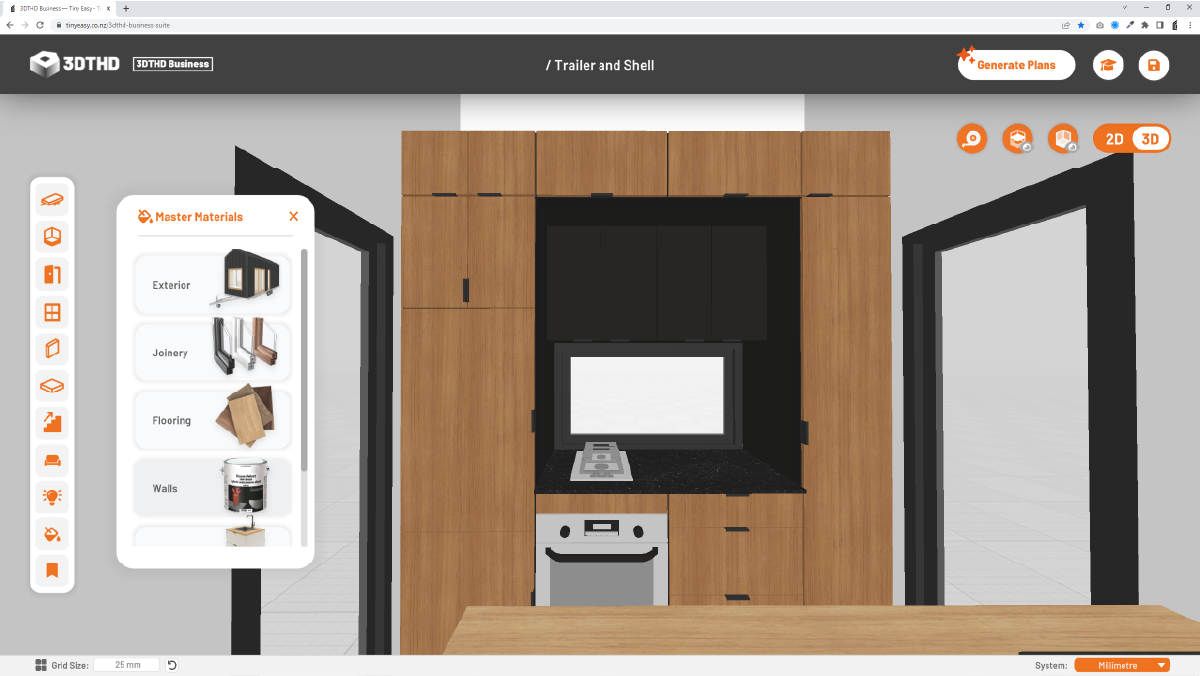
Master Materials Categories
There are 6 main categories in the Master Materials Library:
- Exterior
- Joinery
- Flooring
- Walls
- Furniture
- Electrical
Each main category has several subcategories.
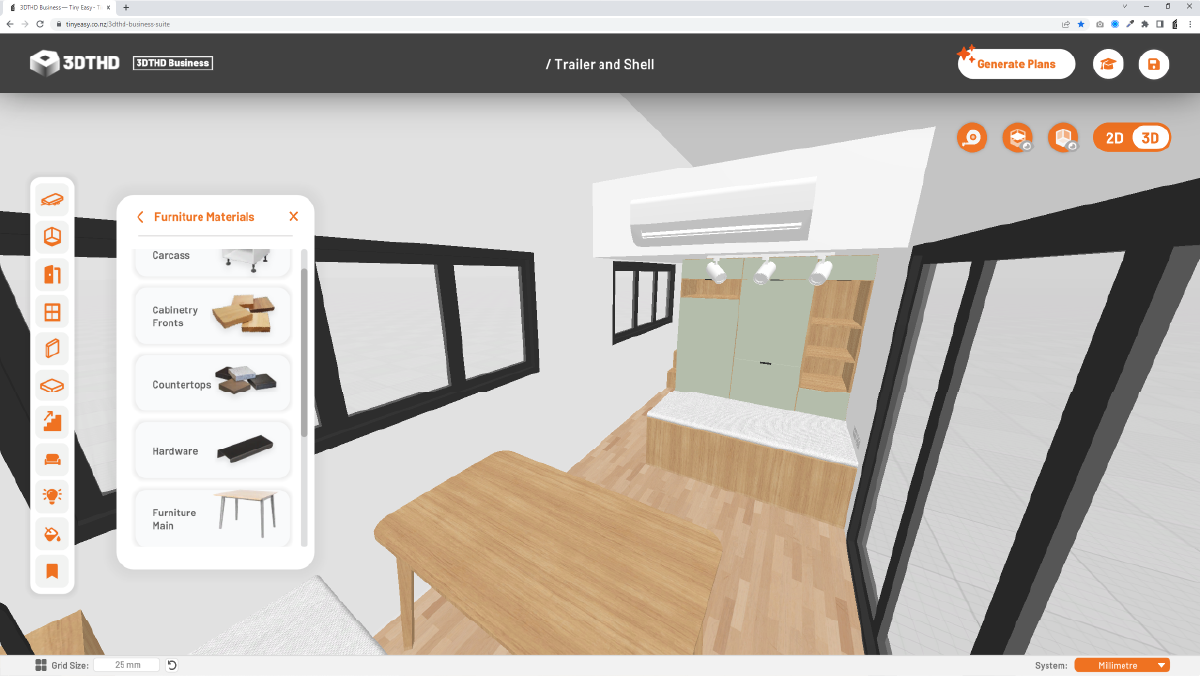
For example, the “Furniture” main category, has 8 subcategories:
- Cabinetry Carcass
- Cabinetry Fronts
- Countertops
- Hardware
- Furniture Main
- Furniture Accents
- Fabric Main
- Furniture Accents.
Use Master Materials to build a consistent material palette for your tiny house with colours and materials that work well together! By changing the Master Materials, you can quickly modify all object’s materials in your design, rather than manually applying a material to each object.
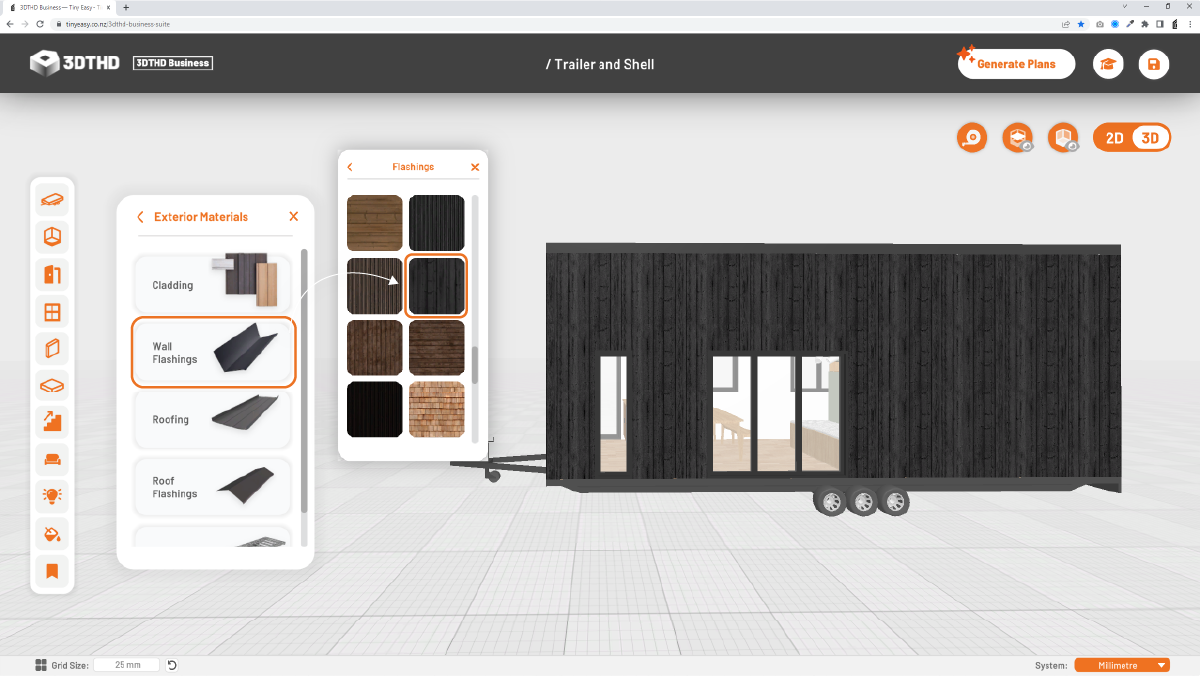
Tip: Wrap Around Facades
You can create a continuous Wrap Around facade look without wall flashings for your design.
1. Define the cladding material
Open the Master Materials in the Library Bar by clicking on the paint bucket symbol.
Open the Exterior Main Category

Open the Cladding sub category and choose any material.
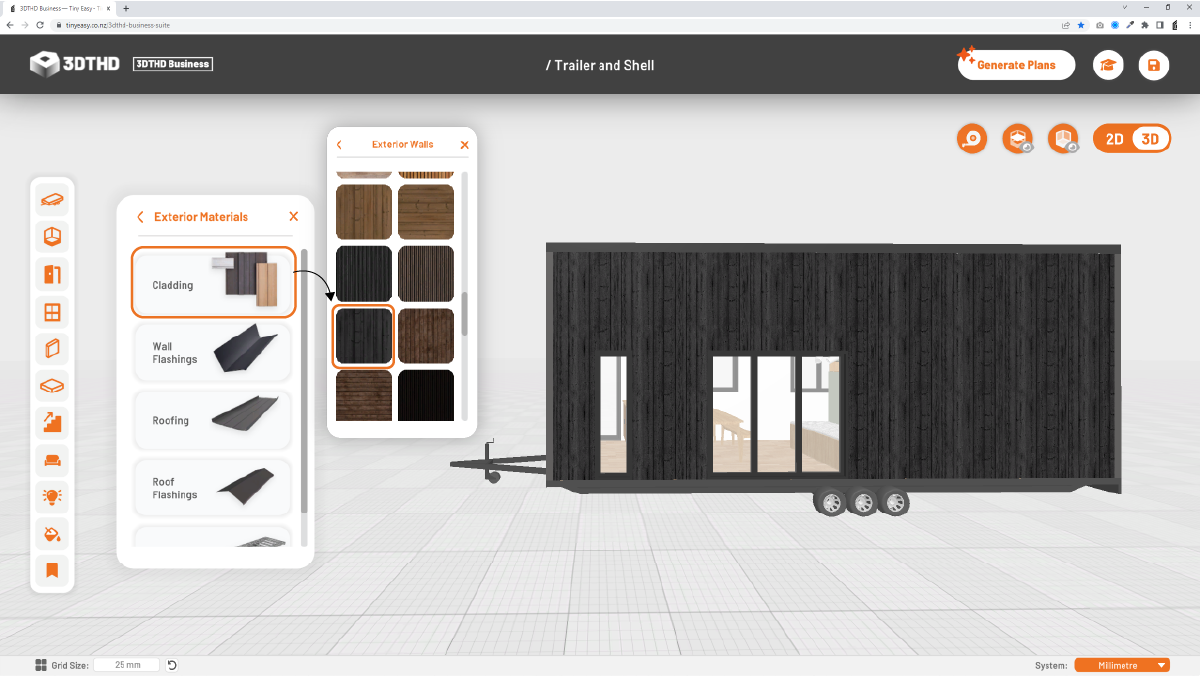
2. Define the "Wall Flashings" Material
Open the Exterior Main Category in the Master Materials again.
Open the Wall Flashings sub category and apply the SAME material that you chose for your wall cladding.